Python文档阅读笔记 |
您所在的位置:网站首页 › easyocr github › Python文档阅读笔记 |
Python文档阅读笔记
|
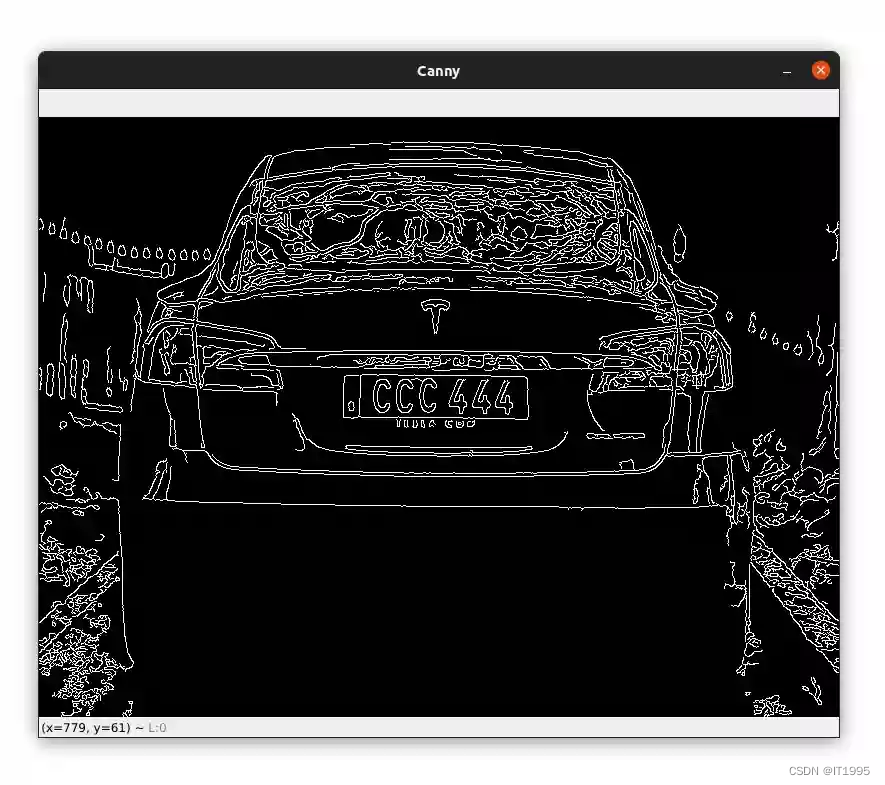
此篇博文将带领大家使用OpenCV和EasyOCR包进行车牌识别。 EasyOCR是Python的一个开源包用于进行图片文字识别也就是OCR(Optical Character Recognition)。 这个包用起来非常简单,并且他支持80种语言,其中就包括中文、英文、阿拉伯语等。 安装EasyOCR使用如下命令: pip install easyocr注意,在本博文写的时候(2022-02-28)OpenCV版本4.5.5.62和EasyOCR不兼容。所以需要使用OpenCV4.5.4.60。 使用下面的命令进行安装: pip install opencv-python==4.5.4.60随后安装opencv-contrib-python: pip install opencv-contrib-python==4.5.4.60如果已经安装得有opencv-python和opencv-contrib-python可以使用如下命令进行反安装: pip uninstall opencv-python pip uninstall opencv-contrib-python然后再重新安装: pip install opencv-python==4.5.4.60 车牌号识别创建一个Python文件,并添加如下代码: from easyocr import Reader import cv2 # load the image and resize it image = cv2.imread('image1.jpg') image = cv2.resize(image, (800, 600))首先需要导入依赖包,然后重新设置下图片的大小。 随后初始化图片: # convert the input image to grayscale, # blur it, and detect the edges gray = cv2.cvtColor(image, cv2.COLOR_BGR2GRAY) blur = cv2.GaussianBlur(gray, (5,5), 0) edged = cv2.Canny(blur, 10, 200) cv2.imshow('Canny', edged) cv2.waitKey(0) cv2.destroyAllWindows()下面是预处理下图片 # convert the input image to grayscale, # blur it, and detect the edges gray = cv2.cvtColor(image, cv2.COLOR_BGR2GRAY) blur = cv2.GaussianBlur(gray, (5,5), 0) edged = cv2.Canny(blur, 10, 200) cv2.imshow('Canny', edged) cv2.waitKey(0) cv2.destroyAllWindows()首先将图片转换为灰度图,再通过高斯滤波删除一些干扰信息,最后进行边缘检测。 输出的图片如下:
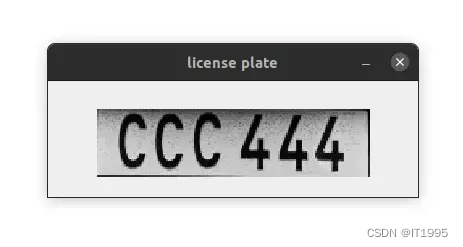
下面,通过通过边缘检测的轮廓,获取车牌的轮廓: # find the contours, sort them, and keep only the 5 largest ones contours, _ = cv2.findContours(edged, cv2.RETR_TREE, cv2.CHAIN_APPROX_SIMPLE) contours = sorted(contours, key = cv2.contourArea, reverse = True)[:5] # loop over the contours for c in contours: # approximate each contour peri = cv2.arcLength(c, True) approx = cv2.approxPolyDP(c, 0.02 * peri, True) # if the contour has 4 points, we can say # that we have found our license plate if len(approx) == 4: n_plate_cnt = approx break # get the bounding box of the contour and # extract the license plate from the image (x, y, w, h) = cv2.boundingRect(n_plate_cnt) license_plate = gray[y:y + h, x:x + w]上面的代码目的是从边缘图片中找到轮廓,范围大小是从0到5。 如果找到有4个轮廓的,就说明发现车牌位置了。 最后就可以从车牌中提取号码了
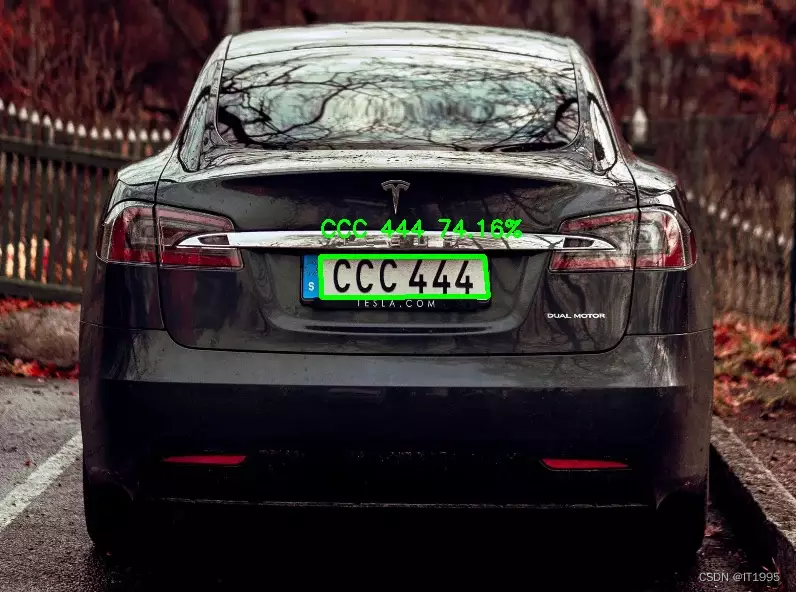
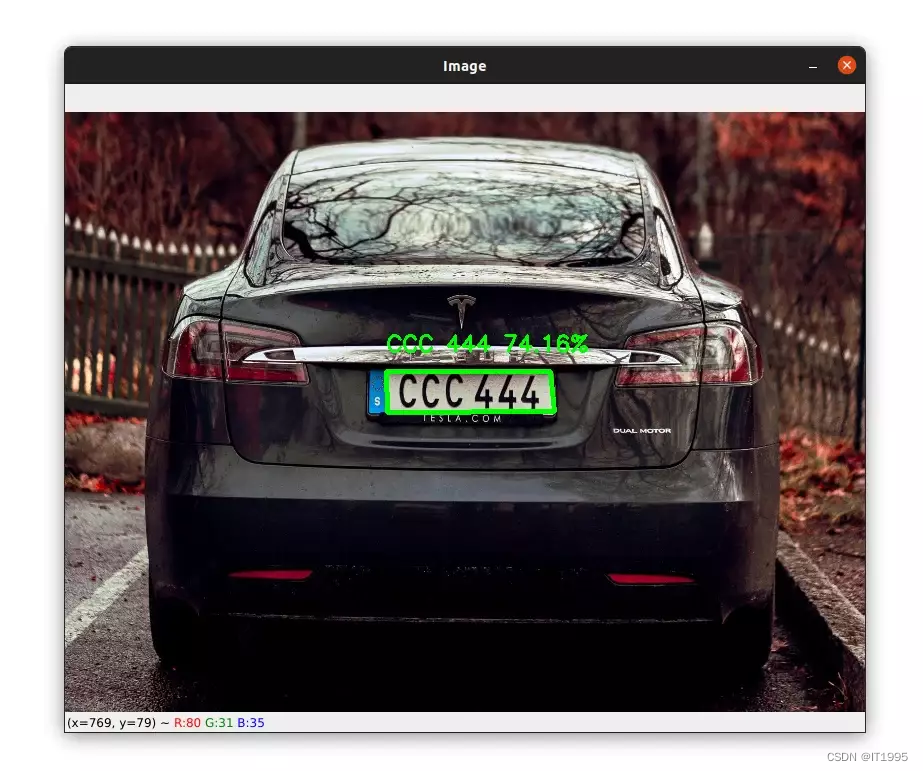
现在所有初始化工作都做好了,下面使用EeayOCR进行文字识别。 # initialize the reader object reader = Reader(['en']) # detect the text from the license plate detection = reader.readtext(license_plate) if len(detection) == 0: # if the text couldn't be read, show a custom message text = "Impossible to read the text from the license plate" cv2.putText(image, text, (20, 40), cv2.FONT_HERSHEY_SIMPLEX, 0.75, (0, 0, 255), 3) cv2.imshow('Image', image) cv2.waitKey(0) else: # draw the contour and write the detected text on the image cv2.drawContours(image, [n_plate_cnt], -1, (0, 255, 0), 3) text = f"{detection[0][1]} {detection[0][2] * 100:.2f}%" cv2.putText(image, text, (x, y - 20), cv2.FONT_HERSHEY_SIMPLEX, 0.75, (0, 255, 0), 2) # display the license plate and the output image cv2.imshow('license plate', license_plate) cv2.imshow('Image', image) cv2.waitKey(0)
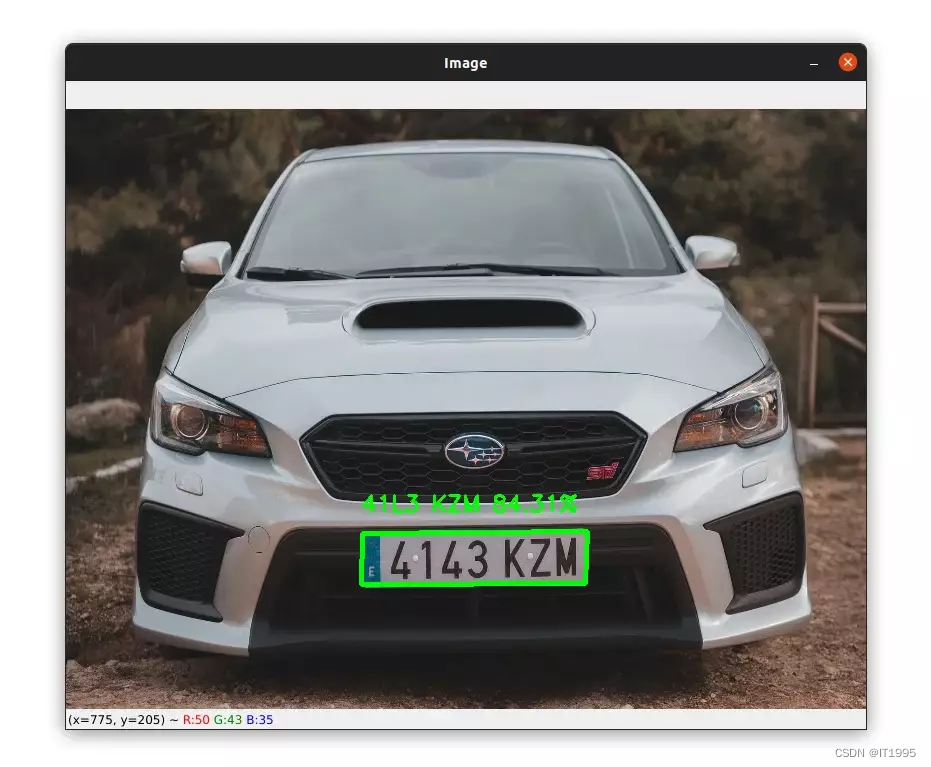
首先初始化Reader对象,然后调用readtext函数,其中的参数,传找到的车牌号。 调用完后返回值包含3个元素: 元素1:要识别文字的边界框。 元素2:图片中文字被识别成什么; 元素3:识别可信度; 如果返回为0,说明什么也没找到,什么也没识别出来,这里程序会出现一个提示框。 如果识别成功,程序会将识别到的信息,也就是那3个元素,显示到车牌旁。 如下:
上面是成功的,但这个例子是失败的:
4143KZM被识别成了41L3KZM。 原因是只用图像识别来识别车牌是很有局限性的。所以,这种车牌,需要有和其他技术进行搭配。 下面也有个识别错误的例子:
原因的光线问题,在识别中,拍照也是一门技术活。不然图片初始化,获取车牌位置就不会成功。 |

【本文地址】